Crafting Coziness, A Step-by-Step Guide to Knitting a Pom-Pom Beanie Hat
Knitting a pom-pom beanie hat is a delightful project for both novice and experienced knitters. Not only does it offer a chance to practice basic knitting techniques, but it also results in a stylish and cozy accessory perfect for chilly days. Here's a step-by-step guide to create your own pom-pom beanie hat.
Materials Needed:
- Yarn: Choose a soft, warm yarn in your preferred color. Wool or acrylic blends are great choices.
- Knitting Needles: Circular or double-pointed needles, size depending on the yarn weight.
- A pom-pom maker or a piece of cardboard for creating pom-poms.
- A tapestry needle for weaving in ends.
- Scissors.
Step 1: Knitting the Beanie
- Casting On: Start by casting on stitches. The number of stitches will depend on the desired size of the beanie and the yarn weight. A general rule is to cast on enough stitches to comfortably wrap around your head.
- Ribbing: Knit a ribbed pattern (such as knit 2, purl 2) for about 1-2 inches. This creates a stretchy band for the beanie.
- Body: After the ribbed edge, continue knitting in the round. You can choose to knit in a simple stockinette stitch (knitting every round) or incorporate patterns or colors as desired.
- Decreasing: Once the beanie reaches the desired length, start decreasing stitches evenly across the rounds to shape the crown of the hat.
- Finishing: When the top is sufficiently closed, cut the yarn, leaving a long tail. Thread this tail through the remaining stitches and pull tight to secure. Weave in all loose ends.
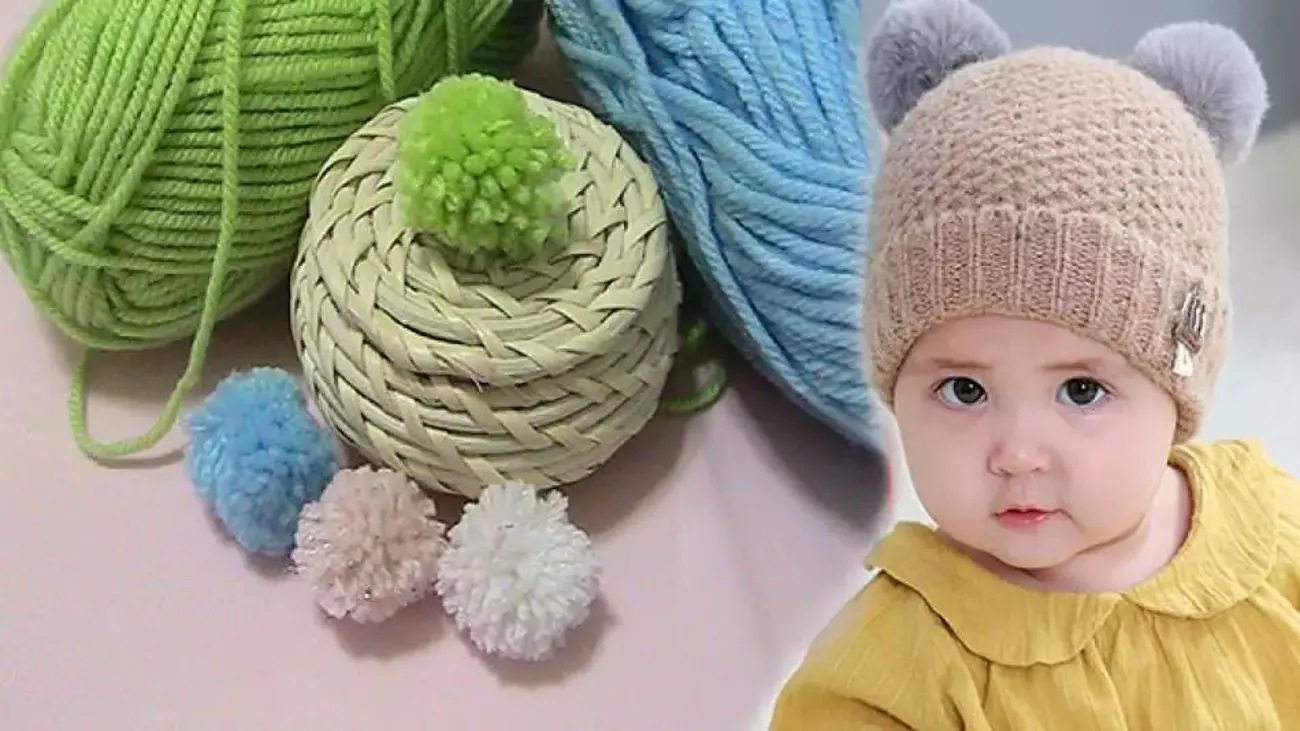
Step 2: Making the Pom-Pom
- Creating the Pom-Pom: Use a pom-pom maker or cut two donut-shaped pieces of cardboard. Wrap the yarn around the cardboard until full and fluffy.
- Cutting and Shaping: Carefully cut the yarn around the edge of the cardboard, then tie a piece of yarn tightly around the middle to secure the pom-pom.
- Trimming: Trim the pom-pom to make it round and even. Leave a long tail of yarn for attaching it to the beanie.
Step 3: Attaching the Pom-Pom
- Securing the Pom-Pom: Using the long tails left on the pom-pom, thread them into the tapestry needle. Secure the pom-pom to the top of the beanie by sewing it in place. Knot securely and weave in the ends.
Your hand-knitted pom-pom beanie is now ready to wear or gift. It's not just a warm accessory, but also a testament to your knitting skills. Experiment with different colors, yarn types, and patterns to create a unique collection of beanies.