Embracing Handmade Elegance, A Step-by-Step Guide to Creating Your Own Cozy and Stylish Vest with Alize Yarn
In the world of handcrafted fashion, there's a special place for those pieces that blend comfort with personal style. Enter the realm of knitting and crocheting, where the art of creating something unique and cozy meets the satisfaction of DIY. This guide is dedicated to helping you embark on a delightful journey of crafting your very own vest, using the versatile and high-quality Alize yarn.
Alize yarn, with its rich textures and vibrant colors, offers endless possibilities to those who love to weave warmth and style into their wardrobe. Whether you are a seasoned knitter or just beginning to explore the craft, this guide promises to take you through a rewarding experience.
From selecting the perfect yarn to finishing touches that make your vest uniquely yours, we'll cover every step with clarity and helpful tips. So, grab your needles, choose your favorite Alize yarn, and let's begin the journey of crafting a vest that's as unique as you are!
1. Choosing Your Alize Yarn
Alize offers a wide range of yarns in various colors and materials. For a vest, you might want to choose a yarn that is soft yet durable. Alize's wool blends or acrylic yarns are great choices. Consider the thickness of the yarn as well; a medium-weight yarn works well for most vest patterns.
2. Basic Vest Pattern
Here's a simple pattern to get you started:
- Materials Needed: Alize yarn (approx. 500-700 yards, depending on size), knitting needles or crochet hook (size according to yarn label), stitch markers, a tapestry needle for weaving in ends.
- Gauge: Check the yarn label for recommended gauge and make a test swatch to ensure your sizing is correct.
- Pattern Instructions:
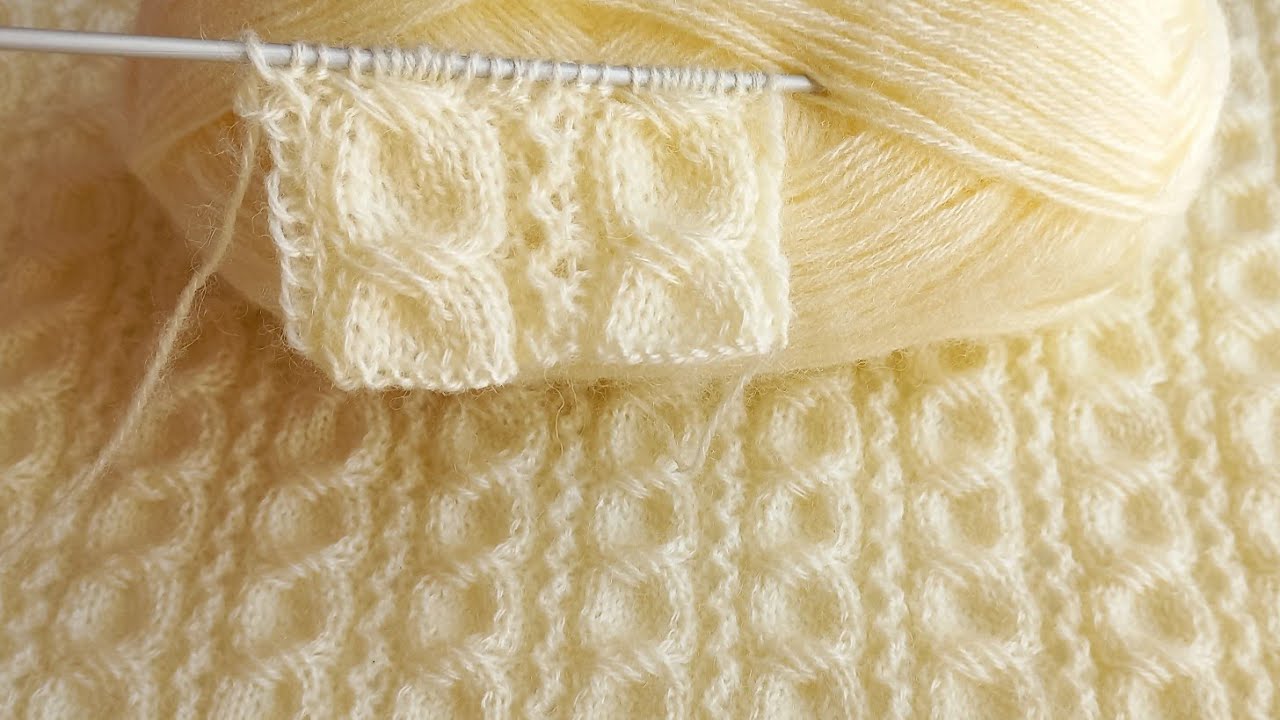
- Back Panel: Cast on stitches for the width of the back panel. Knit in your desired pattern (stockinette, garter, etc.) until it reaches the desired length from the bottom to the underarms.
- Front Panels: Cast on stitches for each front panel (half the width of the back panel). Knit as with the back panel, adding shaping for the armholes and neckline.
- Joining: Seam the shoulders and sides together, leaving appropriate gaps for the armholes.
- Finishing Touches: Add ribbing or a simple crochet edge around the armholes and the neckline for a neat finish.
3. Tips for Crafting with Alize Yarn
- Tension: Keep your tension consistent for a neat finish.
- Blocking: After finishing your vest, block it to give it shape and even out the stitches.
- Care: Follow the yarn label instructions for washing and caring for your vest.
Creating a vest with Alize yarn is not only a fun project but also gives you a custom, handmade addition to your wardrobe. Experiment with different colors and textures. Remember, the joy of crafting comes as much from the process as the finished product. Happy crafting!